

The $50 Coffee Upgrade: Better Brews Without the "Barista" Tax
I’ll be the first to admit that I love high-end gear. My Flair Neo Flex is a regular in my rotation for a reason. But the question I get most is: "How do I make a professional-grade cup without spending $500 on a setup?"
For the last year and a half, I’ve been using a "cheat code" that I actually discovered after seeing my brother-in-law's setup. He had a fancy immersion-style pour-over with a specialized valve—it worked great, but it was expensive. I went home, did some digging, and found the Clever Coffee Dripper.
It works exactly the same way: you let the coffee steep (immersion) and then release it through a valve. It’s cheaper, simpler, and honestly, it’s become my favorite way to brew when I don't want to overthink things.
Here is the breakdown of the core gear I use daily.
| Component | Item | Price |
|
The Brewer |
~$35 |
|
|
The Filters |
~$10 |
|
|
Core Total |
|
~$45 |
|
Optional Kettle |
~$49 |
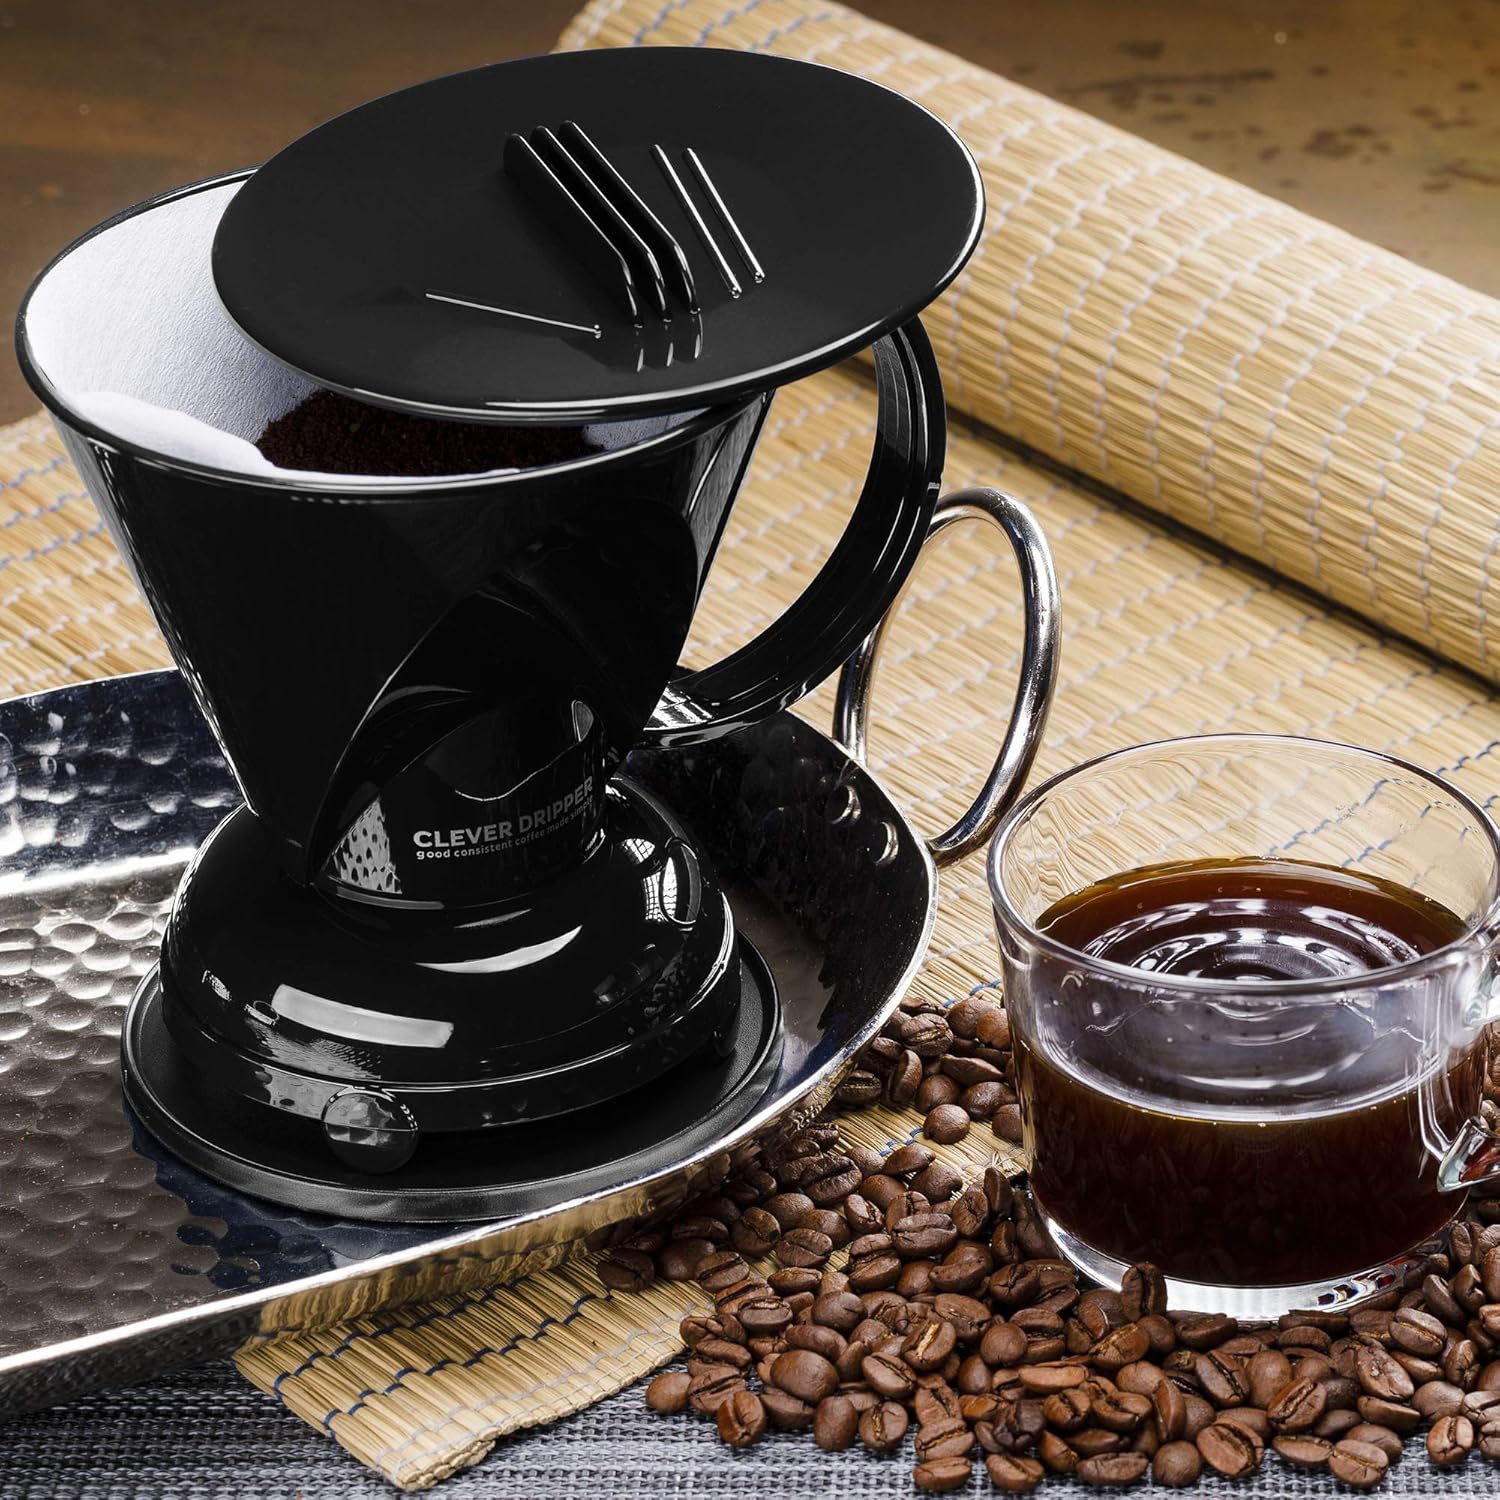
1. The Clever Coffee Dripper
I’ve had my Clever Dripper for a year and a half now, and I love it. It’s the perfect middle ground for people who find French Presses too gritty and traditional pour-overs too finicky.
Because it’s a "steep-and-release" system, you don't need to worry about your pouring technique. You just pour the water in, wait a few minutes, and set it on top of your mug. The weight of the dripper opens the valve, and the coffee filters through. You get the heavy, rich body of a French Press but the clean, crisp finish of a pour-over.
It’s made of a durable, BPA-free plastic that holds heat better than ceramic, and it's survived a year and a half of heavy use on my counter while still looking brand new.
2. Filtropa #4 Paper Filters
If you’re going to save money on gear, spend a little bit of that extra cash on better filters. I use Filtropa #4 Filters.
Generic grocery store filters can often leave a "cardboard" taste in your coffee. These are oxygen-bleached and chlorine-free, meaning they stay out of the way of the coffee's flavor. They fit the Clever Dripper perfectly and make cleanup as simple as tossing the paper in the bin. No grounds in the sink, no scrubbing.
3. Optional Upgrade: Ovente 1.7L Electric Kettle
If you already have a way to boil water—a stovetop kettle or even a pot—you don't need to buy anything else. But if you’re looking to round out your coffee station, I’ve been using this Ovente Electric Kettle for two solid years and it's worked perfectly.
At ~$49, it's a solid investment if you want speed. It’s 1500W, so it boils water way faster than my stovetop, and the auto-shutoff is a lifesaver when I get distracted. You don't need a $150 gooseneck kettle for the Clever Dripper because you aren't trying to "aim" your pour like a barista in a competition. You just need hot water, fast, and this kettle delivers that without the "specialty coffee" markup.
The Bottom Line
For about $45, the Dripper and the Filters will completely change the quality of your morning coffee.
It’s proof that you don't need to spend a fortune to get a "gold cup" standard brew. If you want the body of a French Press without the mud, or a pour-over result without the learning curve, this is the setup I recommend. It’s been my daily driver for a long time, and it hasn't let me down yet.
Below is a video of the Clever Dripper in action!
Happy Brewing,
What's your go-to budget coffee setup? Let me know in the comments below!
Quick heads up: Some of the links in this post are affiliate links. If you use them to grab some gear, I might earn a small commission at no extra cost to you. It helps keep the beans grinding here at SIP Coffee Co., so thanks for the support!